Created on November 10th, 2024 at 09:03 pm
Table of Contents
As a passionate home cook, I know how crucial it is to roast the perfect chicken. The secret to juicy, flavorful results is brining. This method has been loved by culinary experts, like Thomas Keller. Now, it’s your turn to discover its magic.
Brining is more than a technique; it’s a mix of flavors that makes your chicken taste amazing. By soaking your chicken in a special mix of water, salt, and spices, you’ll make it incredibly tender and tasty. It turns ordinary chicken into something truly delicious.

Key Takeaways
- Brining is a proven method to create juicy, flavorful roast chicken
- The brine recipe includes water, salt, soy sauce, sugar, and olive oil
- Brining times vary from 2 hours for breasts to 4 hours or more for whole chickens
- Brining enhances the natural tenderness and moisture of the chicken
- Customizations like garlic or onion powder can add extra depth of flavor
Understanding the Science Behind Chicken Brining
Brining transforms plain chicken into a moist and delicious dish. It works by soaking chicken in a salty solution. This lets the salt get into the meat, making it special.
How Salt Penetrates the Meat
The brining magic happens through diffusion. Salt from the brine moves into the chicken. This changes the meat’s texture, making it tender and juicy.
The Role of Moisture Retention
Brining helps chicken keep its moisture. Salt changes the meat’s structure, letting it hold more water. This process makes the chicken tender and packed with flavor.
Temperature Control Basics
Temperature is key in brining. The brine must be cold to avoid bacteria. Keeping the right temperature ensures safe and tasty chicken.
Learning about chicken brining can make your cooking better. It helps you make moist, tasty chicken. With the right steps, your dishes will wow everyone.

“Brining is included in almost all chicken and pork recipes by the author.”
Essential Ingredients for the Perfect Chicken Brine Recipe
To make a tasty chicken brine, you need to know the key ingredients. The base is simple: water and salt. But, adding a few more things can make the brine better and the chicken more delicious.
Here are the must-haves for a basic chicken brine recipe:
- Water: Use cold tap water, about 2 liters (8 cups).
- Salt: Use 1/3 cup of kosher or cooking salt, not table salt. The salt-to-water ratio is key for brining.
- Sweetener: Add 1/4 cup of honey or granulated sugar to balance the salt.
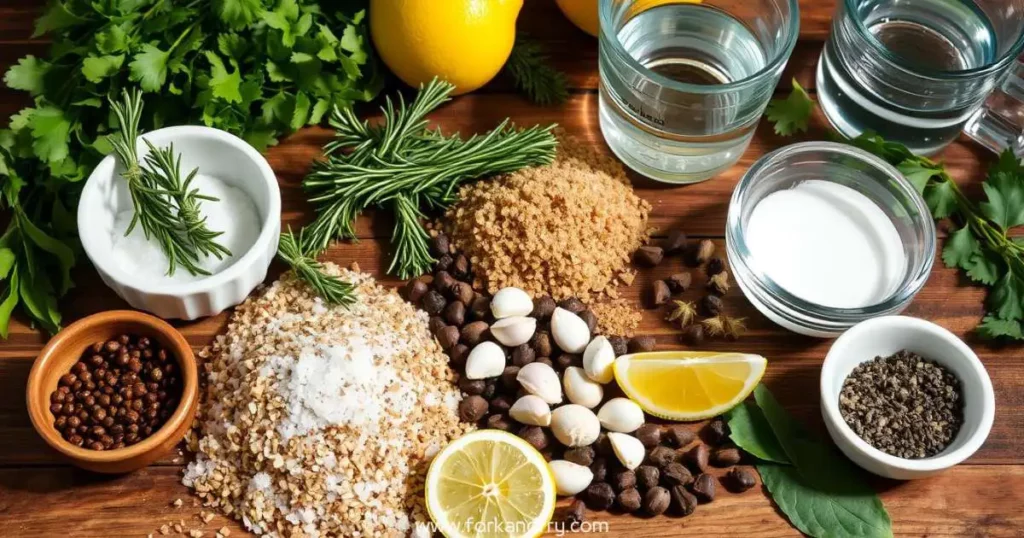
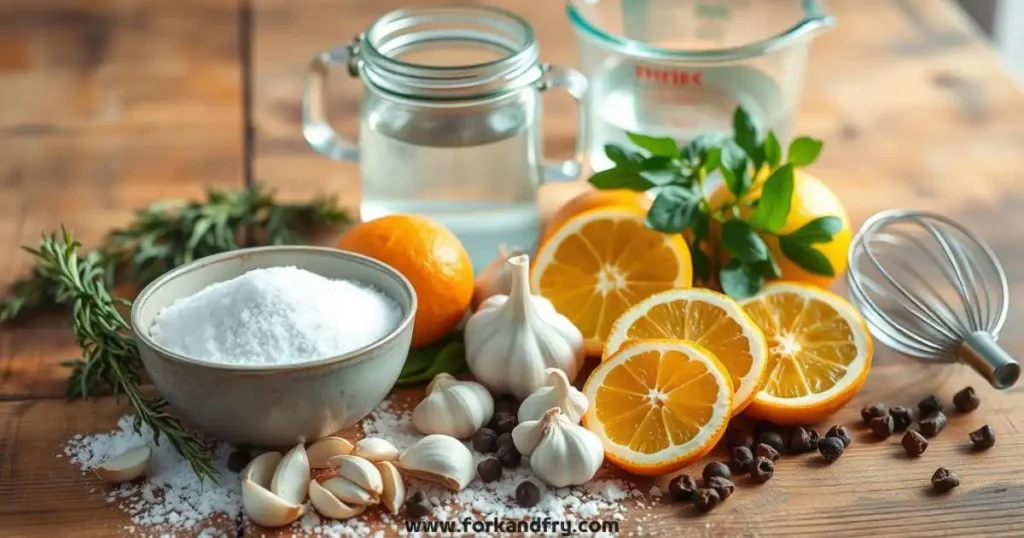
- Aromatics: Include whole garlic cloves, fresh herbs like parsley, thyme, and rosemary, and lemon slices or peppercorns for extra flavor.
The brine ratio of 1/3 cup of salt per 2 liters of water is perfect. You can change the extra ingredients to taste, but keep the salt ratio the same for good brining.
| Ingredient | Amount |
|---|---|
| Water | 2 liters (8 cups) |
| Kosher or Cooking Salt | 1/3 cup |
| Honey | 1/4 cup |
| Garlic Cloves | 6 whole |
| Herbs (Parsley, Thyme, Rosemary) | As desired |
| Lemon Slices | As desired |
| Peppercorns | As desired |
The secret to a great chicken brine is the right mix of brine ingredients and brine ratio. With these basics, you’ll get a juicy, tasty, and restaurant-quality roasted chicken every time.

Step-by-Step Basic Brine Recipe
Making the perfect brine recipe for chicken is key to juicy, tasty results. This easy guide will help you make your chicken incredibly delicious.
Measuring and Mixing Instructions
To make the basic brine recipe, you’ll need:
- 20 grams of coarse salt
- 20 grams of brown sugar
- 350 ml of water
First, boil these ingredients, stirring now and then to melt the salt and mix flavors. Once it’s all dissolved, take it off the heat. Add cold water to cool it down fast. Then, put it in the fridge to cool completely before moving on.
Temperature Management Tips
Keeping the right temperature is very important during brining. Put the chicken in the brine, making sure the drumsticks and breast are down. Put it in the fridge and let it brine for 12 to 24 hours, depending on the chicken’s size and thickness.
Storage Guidelines
When the brining time is over, take the chicken out, dry it, and brush it with butter before roasting. Any leftover brine can be stored in the fridge for up to 2 weeks. It’s ready for your next simple chicken brine project.

“The key to a perfectly brined chicken is to ensure the brine is completely cooled before adding the meat. This prevents bacterial growth and ensures a safe, delicious result.”
Flavor Enhancers and Optional Additions
Make your basic brine recipe better with different flavors. Honey is classic, but try maple syrup or brown sugar for a sweeter taste. Swap lemon for lime or orange for a tangier flavor.
Try fresh herbs for more depth. Sage, thyme, rosemary, or a mix can give your chicken a unique aroma. For strong garlic, use smashed cloves or garlic paste in the brine ingredients.
Customize your pickling brine with these additions. Mix them to make a dish that’s both unique and delicious.
- Maple syrup or brown sugar instead of honey
- Lime or orange instead of lemon
- Fresh herbs like sage, thyme, or rosemary
- Smashed garlic cloves or garlic paste
“Brining is an easy way to add flavor and moisture to chicken. Get creative with your choice of brine ingredients to find your perfect flavor combination.”
Proper Brining Times and Techniques
Getting the perfect brine for chicken is all about timing and method. Most poultry should brine for 12 to 24 hours. The best time is 18 to 24 hours. This lets the salt and seasonings soak into the meat, making it juicy and tasty.
Recommended Brining Duration
For most chicken, brine for about 1 hour per pound. A 4-pound whole chicken needs 4 hours in the brine. Chicken breasts or thighs only need 1-2 hours.
Common Brining Mistakes to Avoid
- Using warm brine: Warm brine can promote bacterial growth, so it’s essential to brine your chicken in the refrigerator at all times.
- Over-brining: Letting your chicken sit in the brine for longer than 24 hours can result in overly salty meat.
- Forgetting to partially thaw frozen chicken: Placing frozen chicken directly into the brine can prevent the brine from properly penetrating the meat.
Safety Considerations
Food safety is key when brining chicken. To keep your brine safe:
- Brine the chicken in the refrigerator, maintaining a temperature of 40°F or below.
- Discard any leftover brine after use, as it may contain harmful bacteria.
- Cook the brined chicken to an internal temperature of 165°F to kill any potential pathogens.
By sticking to these brining guidelines, you can make chicken as good as a restaurant. Your family will love the juicy, flavorful chicken you make.
How to Prepare Chicken After Brining
Congratulations! You’ve brined your chicken successfully. Now, it’s time to cook it. Brining makes your brined chicken taste better and stay juicy. Here’s how to cook it perfectly:
First, take the brined chicken out of the curing brine and dry it with paper towels. This step removes extra moisture. It helps the chicken brown better. You can also tie the legs together and tuck the wing tips under the body.
Then, brush the chicken with melted butter or olive oil. Make sure to cover the whole chicken, including the underside. This makes the skin golden and crispy.
Lightly season the chicken with black pepper and a pinch of salt, if you like. Since the brined chicken is already seasoned, don’t overdo it with salt.
Put the chicken on a wire rack over a baking sheet or roasting pan. This setup helps the chicken cook evenly and crisps the skin better.
Let the chicken sit at room temperature for 20 minutes before baking. This step ensures it cooks evenly.
Roast the chicken in a 400°F (200°C) oven for 15-20 minutes less than usual. The brined chicken cooks faster because it’s more moist.
Always check the chicken’s internal temperature with a meat thermometer. It should be 165°F (75°C) before you serve it. Enjoy your delicious, juicy brined chicken!
Tips for Achieving Restaurant-Quality Results
Want your brined chicken to taste like it’s from a restaurant? Follow these tips from top chefs:
Professional Chef Recommendations
- Use a meat thermometer to ensure the internal temperature at the joint between the leg and thigh reaches 75°C/165°F.
- Rotate the pan during cooking if the chicken is browning unevenly.
- Let the chicken rest for 10-15 minutes after cooking so the juices can settle.
- For a professional touch, drizzle the cooked chicken with a small amount of the pan juices or melted butter and fresh lemon juice before serving.
Temperature Control Methods
Keeping the temperature just right is key for perfect chicken. Always check the chicken’s internal temperature. Adjust the oven or grill temperature as needed to avoid overcooking or uneven browning.
Testing for Doneness
The secret to great brined chicken is cooking it just right. Use a meat thermometer to check the internal temperature. Aim for 75°C/165°F at the thickest part of the thigh. This ensures juicy, flavorful chicken that’s tender and fully cooked.
This brine recipe can also boost flavor and moisture in other lean proteins. Try brining turkey or fermentation brine for pork and turkey breast. Use the same brining and cooking methods for the best results.
Troubleshooting Common Brining Issues
Brining meat can make it taste amazing and stay juicy. But, even experienced cooks might face some problems. Don’t worry, with a bit of troubleshooting, you can fix common brining issues and get great results every time.
Overly Salty Chicken
One big issue is chicken that tastes too salty after brining. This usually happens if the meat stays in the brine too long. Just remember to follow the recommended brining time and take the chicken out when it’s just right.
Dry, Tough Meat
On the other hand, meat that’s not brined enough can end up dry and tough. To prevent this, make sure the meat is fully covered in the brine and brine for the right amount of time. For thinner or denser cuts, you might need to brine a bit longer to get the flavors in.
Uneven Flavor Distribution
If your brined meat has some areas that taste stronger than others, it’s probably because the brine didn’t cover it evenly. Make sure the meat is fully submerged and gently stir or flip it halfway through brining to spread the flavors evenly.
By watching your brine ratios, brining times, and making sure the meat is fully covered, you can solve any problems that come up. This way, you’ll always have moist and flavorful brined meat. Remember, the brine ratio is crucial for getting restaurant-quality results at home.
Conclusion
Brining is an essential step to achieve juicy, flavorful chicken. It’s all about understanding the science and using the right ingredients. By following the right steps, you can make brine recipe at home that rivals restaurants.
Try out different flavors and brining times to find your favorite. Always keep food safety in mind. With practice, you’ll get better at brining chicken and make your dishes even more delicious.
The secret to success is mastering the basics of brine recipe. Follow the steps in this article to make chicken that’s tender and full of flavor. It will impress everyone you share it with.
Brining chicken introduces a variety of flavors to your cooking. It’s a journey of learning and growing. Don’t be afraid to try new things and trust your instincts.
With a bit of practice and patience, you’ll be making brine recipe like a pro. Enjoy the tasty results and feel proud of your hard work.
FAQ
What is the purpose of brining chicken?
Brining makes chicken juicy and flavorful. It involves soaking the chicken in a salty liquid. This adds taste, tenderizes, and boosts moisture, making the chicken very juicy.
What are the essential ingredients for a basic chicken brine?
For a basic brine, you need water and salt. You can also add honey, herbs like parsley and thyme, peppercorns, lemons, garlic, and bay leaves for extra flavor.
What is the recommended ratio of salt to water for an effective brine?
Use 1/3 cup of kosher or cooking salt for every 2 liters of water. This ratio is key for a good brine.
How long should you brine chicken?
Brine the chicken for 12 to 24 hours. The best time is 18 to 24 hours. Brining for over 24 hours may cause the chicken to become overly salty.
How do you prepare the chicken after brining?
After brining, pat the chicken dry. Then, tie the legs with string and tuck the wings under. Brush it with melted butter and season with pepper and a bit of salt.
What are some common issues with brining and how can they be addressed?
Issues like salty chicken or dry meat can happen. To fix these, use the right amount of salt and brine for the right time. Make sure the chicken is fully submerged in the brine.


